
The Event Tickets add-on sells tickets to your fundraising events on your own site, through the payment gateways you already use. Every ticket is a PDF with its own QR code, and you check people in at the door with any phone. It is part of the Advanced and Elite plans.
What it adds
- Events with a date, a venue or an online link, ticket types and an overall capacity.
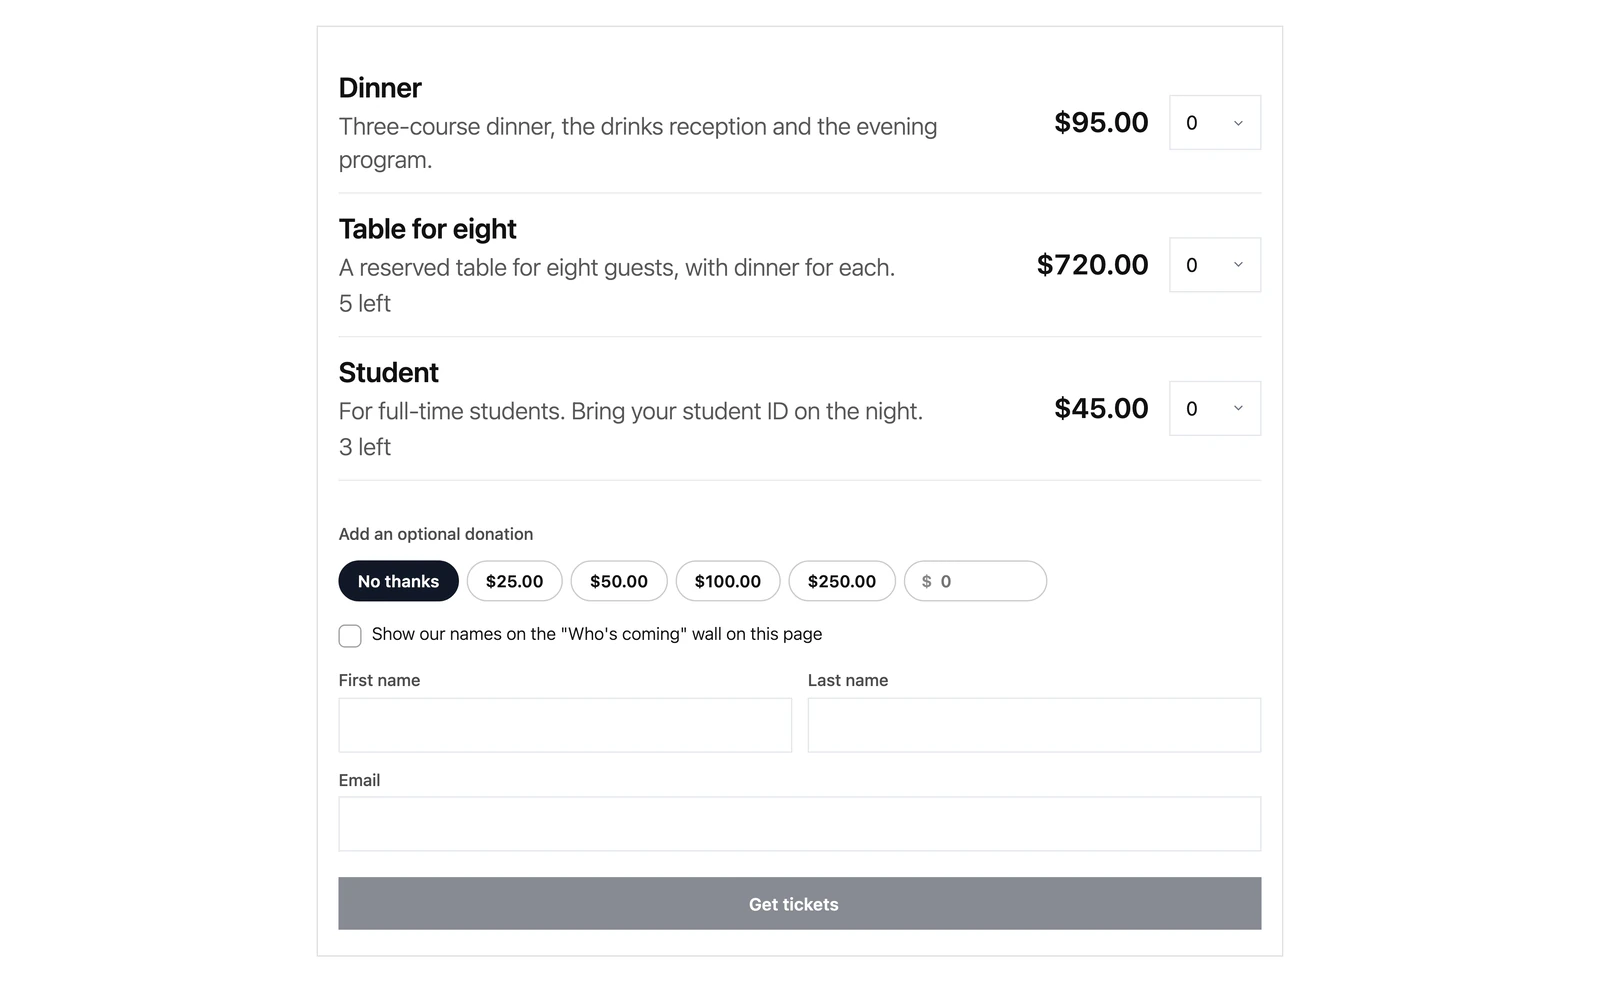
- Ticket types with their own price, cap, sales window and limits per order. Free tickets work too.
- An event page on your site, a real WordPress page you can edit in the block editor.
- An optional donation on top of the tickets, recorded as a donation in its own right, so campaign totals, receipts and tax statements all see it.
- Tickets emailed as PDFs with QR codes, and a check-in screen that scans them with a phone camera.
- Emails for every step of an order: confirmation, the tickets, awaiting payment, a reminder, cancellations and a sold-out notice.
Where the settings live
- Fundraising > Events lists your events. Open one to manage it.
- Fundraising > Check-in is the door screen.
- The emails are edited under Fundraising > Settings > Emails.
Create an event
- Go to Fundraising > Events and click New event.
- Enter the Title and when it Starts. Choose a Campaign if the event raises money for one: ticket revenue is reported against it and the page takes its accent color.
- Click Create draft. The event opens on its own screen.
- On the Settings tab, fill in the description, doors open time, the venue or the online link, the capacity and the time zone. Choose whether buyers may add a donation, and which amounts to suggest. Click Save.
- On the Ticket types tab, add each ticket type with its price and, if you like, a cap and a sales window.
- Click Publish. The event page goes live and starts selling.
Use View page to see the event page, and Edit page layout to change it in the block editor.
Selling tickets
The event page takes orders through the payment gateways you have set up in Gratora. Tickets a buyer picks are held for 20 minutes while they pay, and released at once if they back out. When an order completes, the buyer gets their tickets by email.
On the Settings tab you can also:
- Set a Refund policy: how many days before the event buyers may cancel a paid order themselves from the donor portal. Set it to 0 to turn self-service refunds off. Free tickets can always be canceled until the event starts.
- Turn on the Reminder email, sent the day before the event with each buyer’s ticket link.
The event screen’s Overview, Orders and Attendees tabs show sales, each order with its tickets, and everyone attending. You can refund tickets from an order, and export attendees as a CSV file.
Check people in
- Go to Fundraising > Check-in, or click Check-in on a published event’s screen.
- Point the phone’s camera at a ticket’s QR code, or type the ticket code, or search by name or reference.
Each ticket can only be checked in once, and a live count shows who has arrived. The camera works in the browser on iPhone and Android, and the code box also takes hardware scanners.
To let volunteers run the door, add them under Door staff on the event’s Settings tab. Door staff accounts can open only the check-in screen, and only for that event.
Canceling an event
Click Cancel event on the event’s screen. Sales stop at once and the event page says the event is canceled. Orders stay on record so you can refund them.