
The Peer-to-Peer add-on lets your supporters raise money for you on fundraising pages of their own, alone or in teams, on your site. Every donation made on a supporter’s page is credited to them and their team, and lands in your donor records like any other. It is part of the Advanced and Elite plans.
What it adds
- A Peer-to-peer campaign type. Supporters start their own page for the campaign, with their own goal, photo and story.
- Teams, which you can turn on or off per campaign.
- Real, editable WordPress pages for each campaign’s fundraiser page layout, team page layout and start page.
- Leaderboards, progress, fundraiser and team grids, rosters and a sponsor wall, all as blocks.
- An approval queue, for campaigns where you want to see each page before it goes live.
- Emails that keep fundraisers going: welcome, approved and declined, the first donation, milestones, and a nudge when a page has raised nothing yet.
- A My fundraising tab in the donor portal, where supporters manage their page. They do not need a WordPress account.
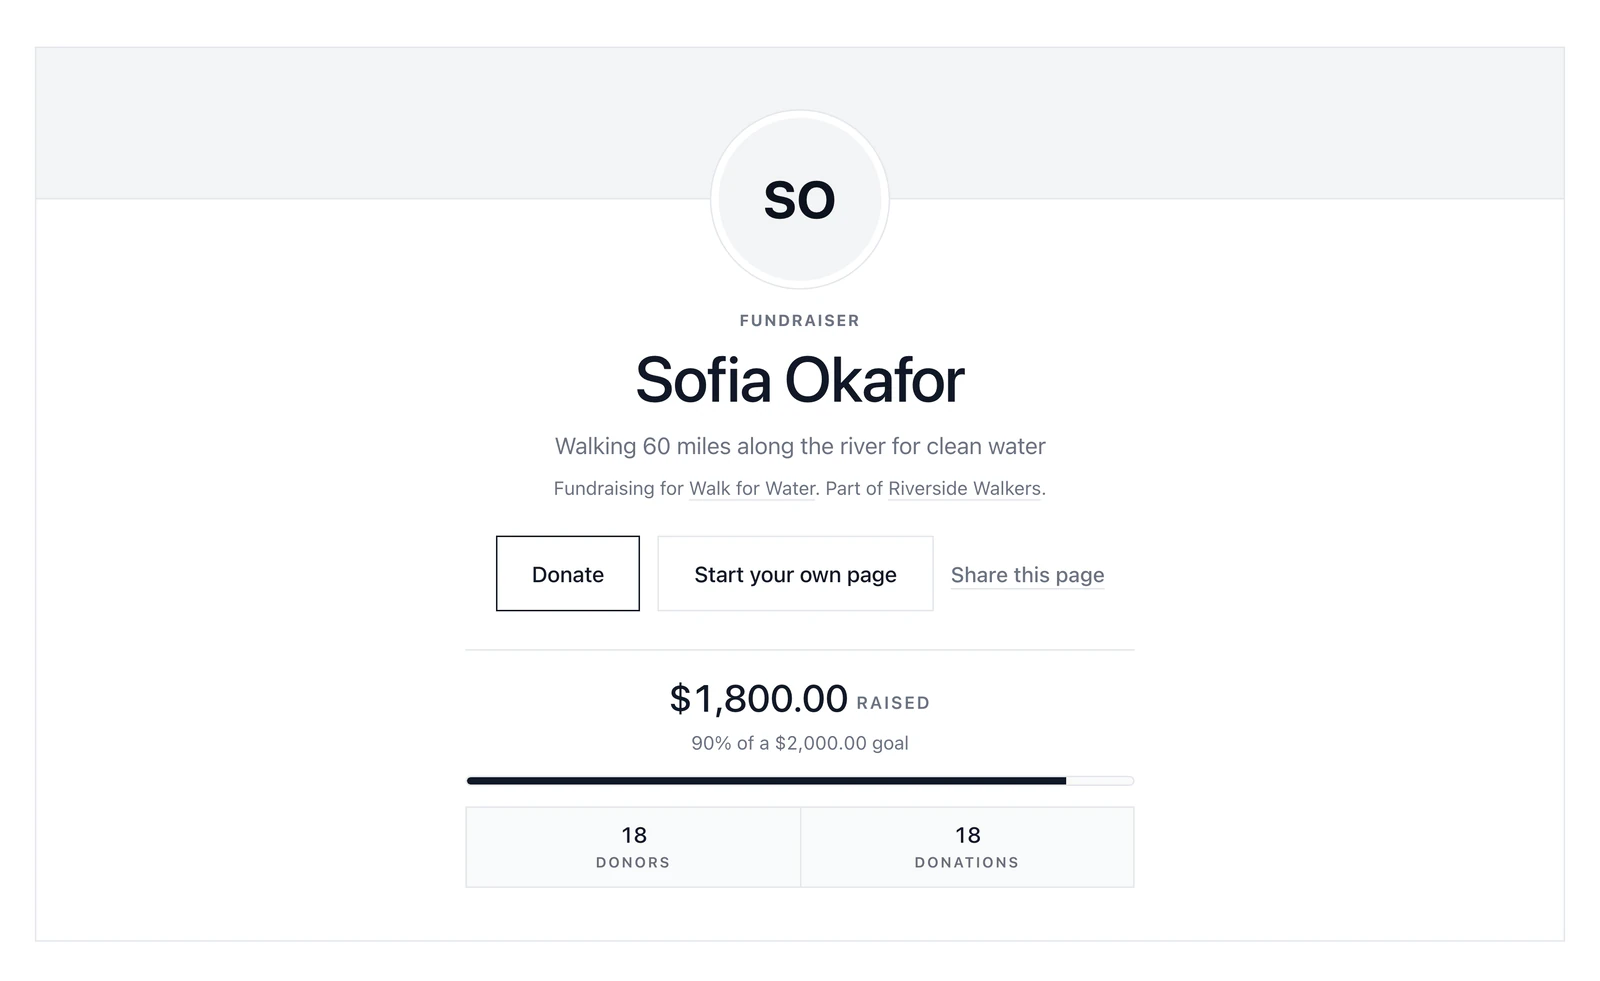
Create a peer-to-peer campaign
- Go to Fundraising > Campaigns and click Add new campaign.
- Enter a title and, under Campaign type, choose Peer-to-peer.
- Set the goal and the other details as for any campaign, and create it.
To turn a campaign you already have into a peer-to-peer one, open it, go to Settings > General and click Convert to Peer-to-peer in the Campaign type card. A standard campaign can be converted, but not back.
See Create your first campaign for the rest of the campaign settings.
Where the settings live
A peer-to-peer campaign gets extra tabs on its campaign screen:
| Tab | What it is for |
|---|---|
| Pages | The campaign’s fundraiser page layout, team page layout and start page. Click Edit to change one in the block editor. Every fundraiser page in the campaign follows its layout. |
| Fundraisers | Every supporter’s page, with what it has raised. Approve, pause, close, feature or edit a page from here. |
| Teams | The same for teams. |
| Approvals | Pages and teams waiting for you, when the campaign reviews pages first. |
| Sponsors | Logos for the campaign’s sponsor wall. |
The campaign’s own options are under Settings > Peer-to-peer on the campaign screen:
- Taking part: whether supporters may start their own page, whether teams are allowed, and whether you review pages before they go live.
- Suggested goals: the goal a new personal page and a new team start with. Supporters can change theirs.
- Notifications: whether fundraisers get an email for every donation or one daily digest. The first donation and milestones are always sent straight away.
The emails themselves are edited under Fundraising > Settings > Emails.
How supporters join
Supporters start a page from the campaign’s start page, at /campaigns/your-campaign/start/ on your site, or from the My fundraising tab in the donor portal. A short form gives them their page and a link to share. Their page lives at /campaigns/your-campaign/fundraiser/their-name/.
If you review pages first, a new page waits under Approvals until you approve it, and the supporter is emailed when you do. Declining also sends an email, so check before you confirm.
How donations are credited
A donation made on a supporter’s page is credited to that supporter and their team, with nothing to tag by hand. Totals are worked out from the donations themselves, so a refund comes back out of the supporter’s total, the team’s total and the leaderboard.